![]()
The decision to move the Addteq blogs from WordPress to Confluence was an easy one. All of our employees use Confluence on a daily basis, and forcing them to exit the Atlassian Suite workflow that they use for everything else other than creating blog posts, was not ideal. The only dilemma that was raised was simply, how is it possible to present the content to the end user in a suitable and attractive user interface while allowing content creators to stay within the familiar realms of Confluence.
We have been using the Scroll Viewport plugin by K15t Software for over a year for our Careers section of our website. Once we realized we can use that plugin for our blog instances, the conversion process officially began. An epic was created in JIRA and we were off. The epic contained the following major user requests.
- Create overall theme design
- Create sidebar widgets for added functionality
- Move blog posts from WordPress to Confluence
- Update blog post authors
- Redirect old blog post links to the new url
- Add url redirects for blog posts
- Create new workflow and document it
Create Overall Theme Design
This was the easy part and for all individuals with a creative air, it will probably be the funnest part. It involves looking online for inspiration and sleek design ideas. Once we felt inspired, creating a demo of the blog site using dummy data was the next step. By using HTML, CSS and Javascript a mockup of what we wanted the site to look like was created. The initial mockup was written in Sublime Text and then copied over to the Scroll Viewport Theme Editor.
Our viewport configuration involved copying one of the default themes and renaming it as the Addteq Blog Theme. Our content tab is shown in the image below. This is the configuration you would use if you only want to show blog posts, by checking both the pages and the blog posts buttons, you can have the two content types within your viewport.

The URL tab settings can be seen in the image below. The URL we wanted the blogs page to show up under was nebula.addteq.com/blogs, so for the path prefix we use the /blog command and we leave the page path as hierarchical. A hierarchical page path for blog posts uses the posting date to navigate to the page. This means that the following URLs will all contain content that will show up as blog overview pages:
- /path-prefix (eg. /blog)
- /path-prefix/year (eg. /blog/2016)
- /path-prefix/year/month (eg. /blog/2016/04)
Then an individual blog post will be shown at the end of this tree in the format of /path-prefix/year/month/page-title.

The last tab which is the Permissions tab and this allows you to set certain confluence user groups that will be able to access the confluence space or pages. Any individuals who aren’t part of the selected groups get redirected to the viewport screen.
With the configuration setup, the next step was to ensure that the content displayed correctly within the viewport. We wanted the front page of our site to display the latest blog posts but we also wanted to have category pages which would sort blog posts based on a specific label. The category page functionality at the time of this writing was unavailable (tracked here) so a workaround had to be created.
In the root directory a blogs.vm page was created with the following code inside. A category path was created and used as the navigation links for our specific categories, If the url contained the word category the blogs-category.vm template would be loaded otherwise load the blogs-main.vm template.
There are three things to note in the above code.
- We didn’t directly pull the creator’s user image from Confluence as we wanted to implement Gravatar images. This involved placing the creator’s email as an attribute of the image and then passing it through an MD-5 hash function and appending that hash to the Gravatar url.
- We used the Facebook comments plugin as our commenting and moderation tool. To obtain the number of comments on a specific blog post we had to create a span tag with an attribute of data-href that equaled the full path of the specific blog post.
- To sort our content by label we used the Confluence CQL function labelText: to allow this type of linking to occur.

The rest of our file structure can be seen in the image above and explained below.
- blog.vm – Individual blog post handler.
- search.vm – Search results handler.
- error.vm – All error messages such as 404s are handled.
- include – This directory was used to structure each page as it contained code snippets for the header, footer and for including the sitewide javascript and css files.
- overrides – This directory was used to override the output of certain Confluence macros to allow for the output of each macro to coincide with the overall style of the site.
Using the above handlebars template we were able to create a toggleable / nested archive list.
Move Blog Posts from WordPress to Confluence
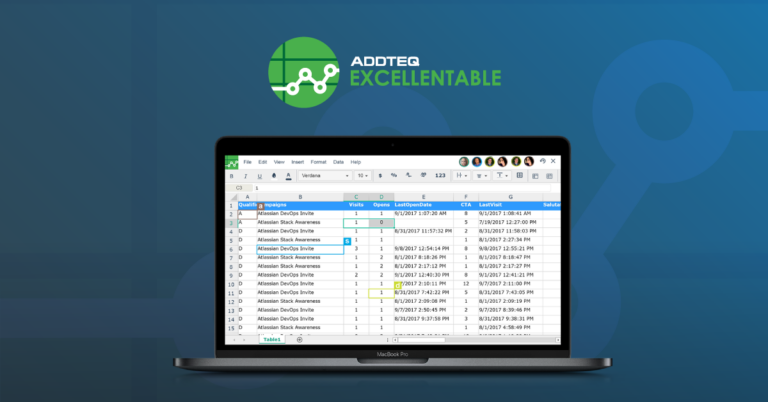
This was a manual process for us as we did not have many blog posts, however if a manual process is overwhelming, a SQL script to migrate the blog posts could be used.
Update Blog Post Authors
Due to the fact that we manually updated the blog posts, they ended up with the wrong authors. We handled this problem by creating a SQL script to change the authors of each post.
Redirect Old Blog Post Links to the New Url
By modifying the .htaccess file this was easily achieved.
Add Url Redirects for Blog Posts
We wanted to enable both /blog and /blogs to load our blog homepage. This was easily enabled by accessing the URL Redirects section of the Scroll Viewport plugin within the Confluence Admin page. 
Create and Document New Workflow
The new workflow involves the Comala Publishing Plugin, which allows us the ability to have a Blog Drafts space as well as a Published Drafts space. When writing a blog post our users also have to take certain steps to allow the content to be displayed consistently due to the use of the macro overrides used within the viewport. An example of this is how we display embedded videos.

To override a macro a page with the name of the macro must be created within the overrides directory.
- Code Block Macro – code.vm
- Widget Connector Macro – widget.vm
even the images used within blog post can be overwritten by creating the sp-image.vm page. It should be noted that if you leave an override page blank you essential hide that macro from your viewport. An example of our widget override code can be seen below.