Dockerizing Atlassian Applications


We are pleased to announce that the Atlassian JIRA and Confluence docker images are now available on the Addteq public Docker Hub repository. These images provide a fully controllable and replicable environment which makes them perfect for testing purposes. In the first part of this blog, I will go through the steps that can help you get Atlassian application setup and running quickly with minimal commands and then, I will talk about how we build these Docker images.

There is always a need to setup multiple test environments. From testing a new version of the Atlassian application, before upgrading the Production instance, to evaluating a new Atlassian product or testing some plugins for the Atlassian applications, using the docker containers provides us the flexibility to setup these test environments. Running applications as a Docker container also provides additional benefits, like below:

  • Setup of instance is quick and easy.
  • You can start and stop applications by starting and stopping the containers.
  • By using Docker data volumes, you can persist the application data.
  • Application upgrades are easy and can be done by getting newer versions of the Docker images.


How we use these images at Addteq

As Atlassian Platinum Partners, we are continuously experimenting with the latest application releases and using these Docker images to setup the testing environments really saves us the setup time and helps us to focus on the testing. Addteq also have released several plugins on marketplace for JIRA and Confluence applications and we continuously are adding new functionality , using the Docker containers as test environments allows to test the plugin features efficiently on multiple versions of the Atlassian applications. Testing environments also allow us to test the compatibility of these plugins with newer releases of Atlassian applications. These are some of the ways how we utilize the Docker images internally at Addteq to setup multiple test environments. We have also automated the process of upgrading these test environments when a new Atlassian application version is released and test our add-ons in the newer versions which allows us to release  the compatibility releases in a faster and efficient way. Check out our plugins at Atlassian marketplace. You can read about the details on how we have automated this in the last part of this blog.


As of January 2019,  JIRA, Confluence and Bitbucket images are available on the Addteq public Docker Hub repository . We will be soon publishing the images for the other Atlassian applications.


Other Docker images are available on the Addteq Public repo.

Getting Started

Below steps can help you to setup a JIRA and Confluence in few minutes.

Pre-requisites:

  • Docker should be installed.
  • You should have an application license.

Installation:

For the purpose of this blog post, I will setup a JIRA environment using the docker image from the Addteq Docker Hub public repository.

Run the below command to start running a JIRA container.  This runs a detached container using the addteq/jira docker image.  To publish a container’s ports outside of the container’s network and map them the host machine’s ports use the “-p” option. This maps the container port 8080 to the host machine port 8080.

** We strongly recommend you run this image using a specific version tag instead of latest. This is because the image referenced by the latest tag changes often and we cannot guarantee that it will be backwards compatible. **

This command runs latest version of the application available. To use a specific version, replace it with the version you need.

				
					docker run -d -p 8080:8080 addteq/jira:latest # Run whatever is the latest in the Docker Hub repo.


OR 


docker run -d -p 8080:8080 addteq/jira:7.13.0 # Run 7.13.0 JIRA version


Once the application is up, you can access  and setup your instance by navigating to the below URL.

				
					http://{{docker_host}}:8080/


Setting up Application with external database:

We recommend to use an external database when setting up your instance. 

Below is the docker-compose example which can be used to setup a application with the Postgres database. Here, we are using JIRA Docker image from Addteq Docker Hub repository and the official Postgres docker image. You can also use other supported databases. For the supported databases, please checked the supported Platforms page of the application.

Once both the application and the database containers are up , you need to do additional steps like creating the database on the Postgres container.  We will configure the JIRA application to connect to the database we created.

Create a file named “docker-compose.yml” with the below content:

				
					dev:
    image: addteq/jira:latest
    restart: always
    ports:
      - "8080:8080"
    links:
        - devdb
    volumes:
        - ~/Volumes/jira-dev/home:/var/atlassian/application-data/jira
devdb:
    image: 'postgres:9.6'
    restart: always
    ports:
      - "5432:5432"
    volumes:
        - ~/Volumes/jira-dev/postgres:/var/lib/postgresql/data


Run the below docker command to start the containers.

				
					docker-compose up -d


To create the database for the application you can use below steps:

Run below  command in the postgres container to create the database user and database for your application.

				
					user:~$ sudo su - postgres
postgres:~$ createuser -P 
postgres:~$ create database ;
postgres:~$ GRANT ALL PRIVILEGES ON DATABASE  to ;


Proxy Configuration:

If you are using a Proxy server to access your Atlassian application, the applications need to be made aware of it. You can specify your proxy host with the environment variable “SERVERNAME”. The value will be set inside the Atlassian server.xml at startup.

This by default will configure the proxy port to 443 and scheme to https.

Example HTTPS:

  • Proxy Name: myhost.example.com
  • Proxy Port: 443
  • Proxy Scheme : https

After this setup, the application can be accessed at https://<myhost.example.com>. Please note that the certificate needs to be setup.

Persisting Data:

Once your application is setup, you would want to persist the application data(home directory) . To do this, you can create Docker volumes and mount it to the application home directory inside the container. you can read more about and usage about Docker volumes here.

Below is an example how you can do this:

				
					docker run -v ~/Volumes/jira-dev/home:/var/atlassian/application-data/jira -d -p 8080:8080 addteq/jira:


Upgrading Applications:

A new image is published to Addteq Docker Hub repository when Atlassian release new versions of the product. You can upgrade your instance to the latest version by getting the recent version Docker image. Please note that, if you had used a Docker volume to persist the application data, it will be still available after the upgrade. 

				
					docker run -d -p 8080:8080 addteq/jira:


JDK

The latest JIRA(7.13+) and Confluence (6.13+) versions of the docker images  use Adopt JDK which is supported by Atlassian.

Setting JVM Memory for Applications

You can customize the memory for your applications by setting environment variables “JVM_MINIMUM_MEMORY” and “JVM_MAXIMUM_MEMORY” while starting the containers.

				
					docker run -d -p 8080:8080 -e "JVM_MINIMUM_MEMORY=1024m" -e "JVM_MAXiMUM_MEMORY=2048m" addteq/jira:latest


How we build the docker images and publish to the Docker Hub repository.

At Addteq, we have automated the process of  building and publishing the JIRA and Confluence Docker images to Docker Hub when Atlassian release a new version of the application with a Continuous Integration platform.  We use Bamboo, google cloud build and Atlassian marketplace API to achieve this.

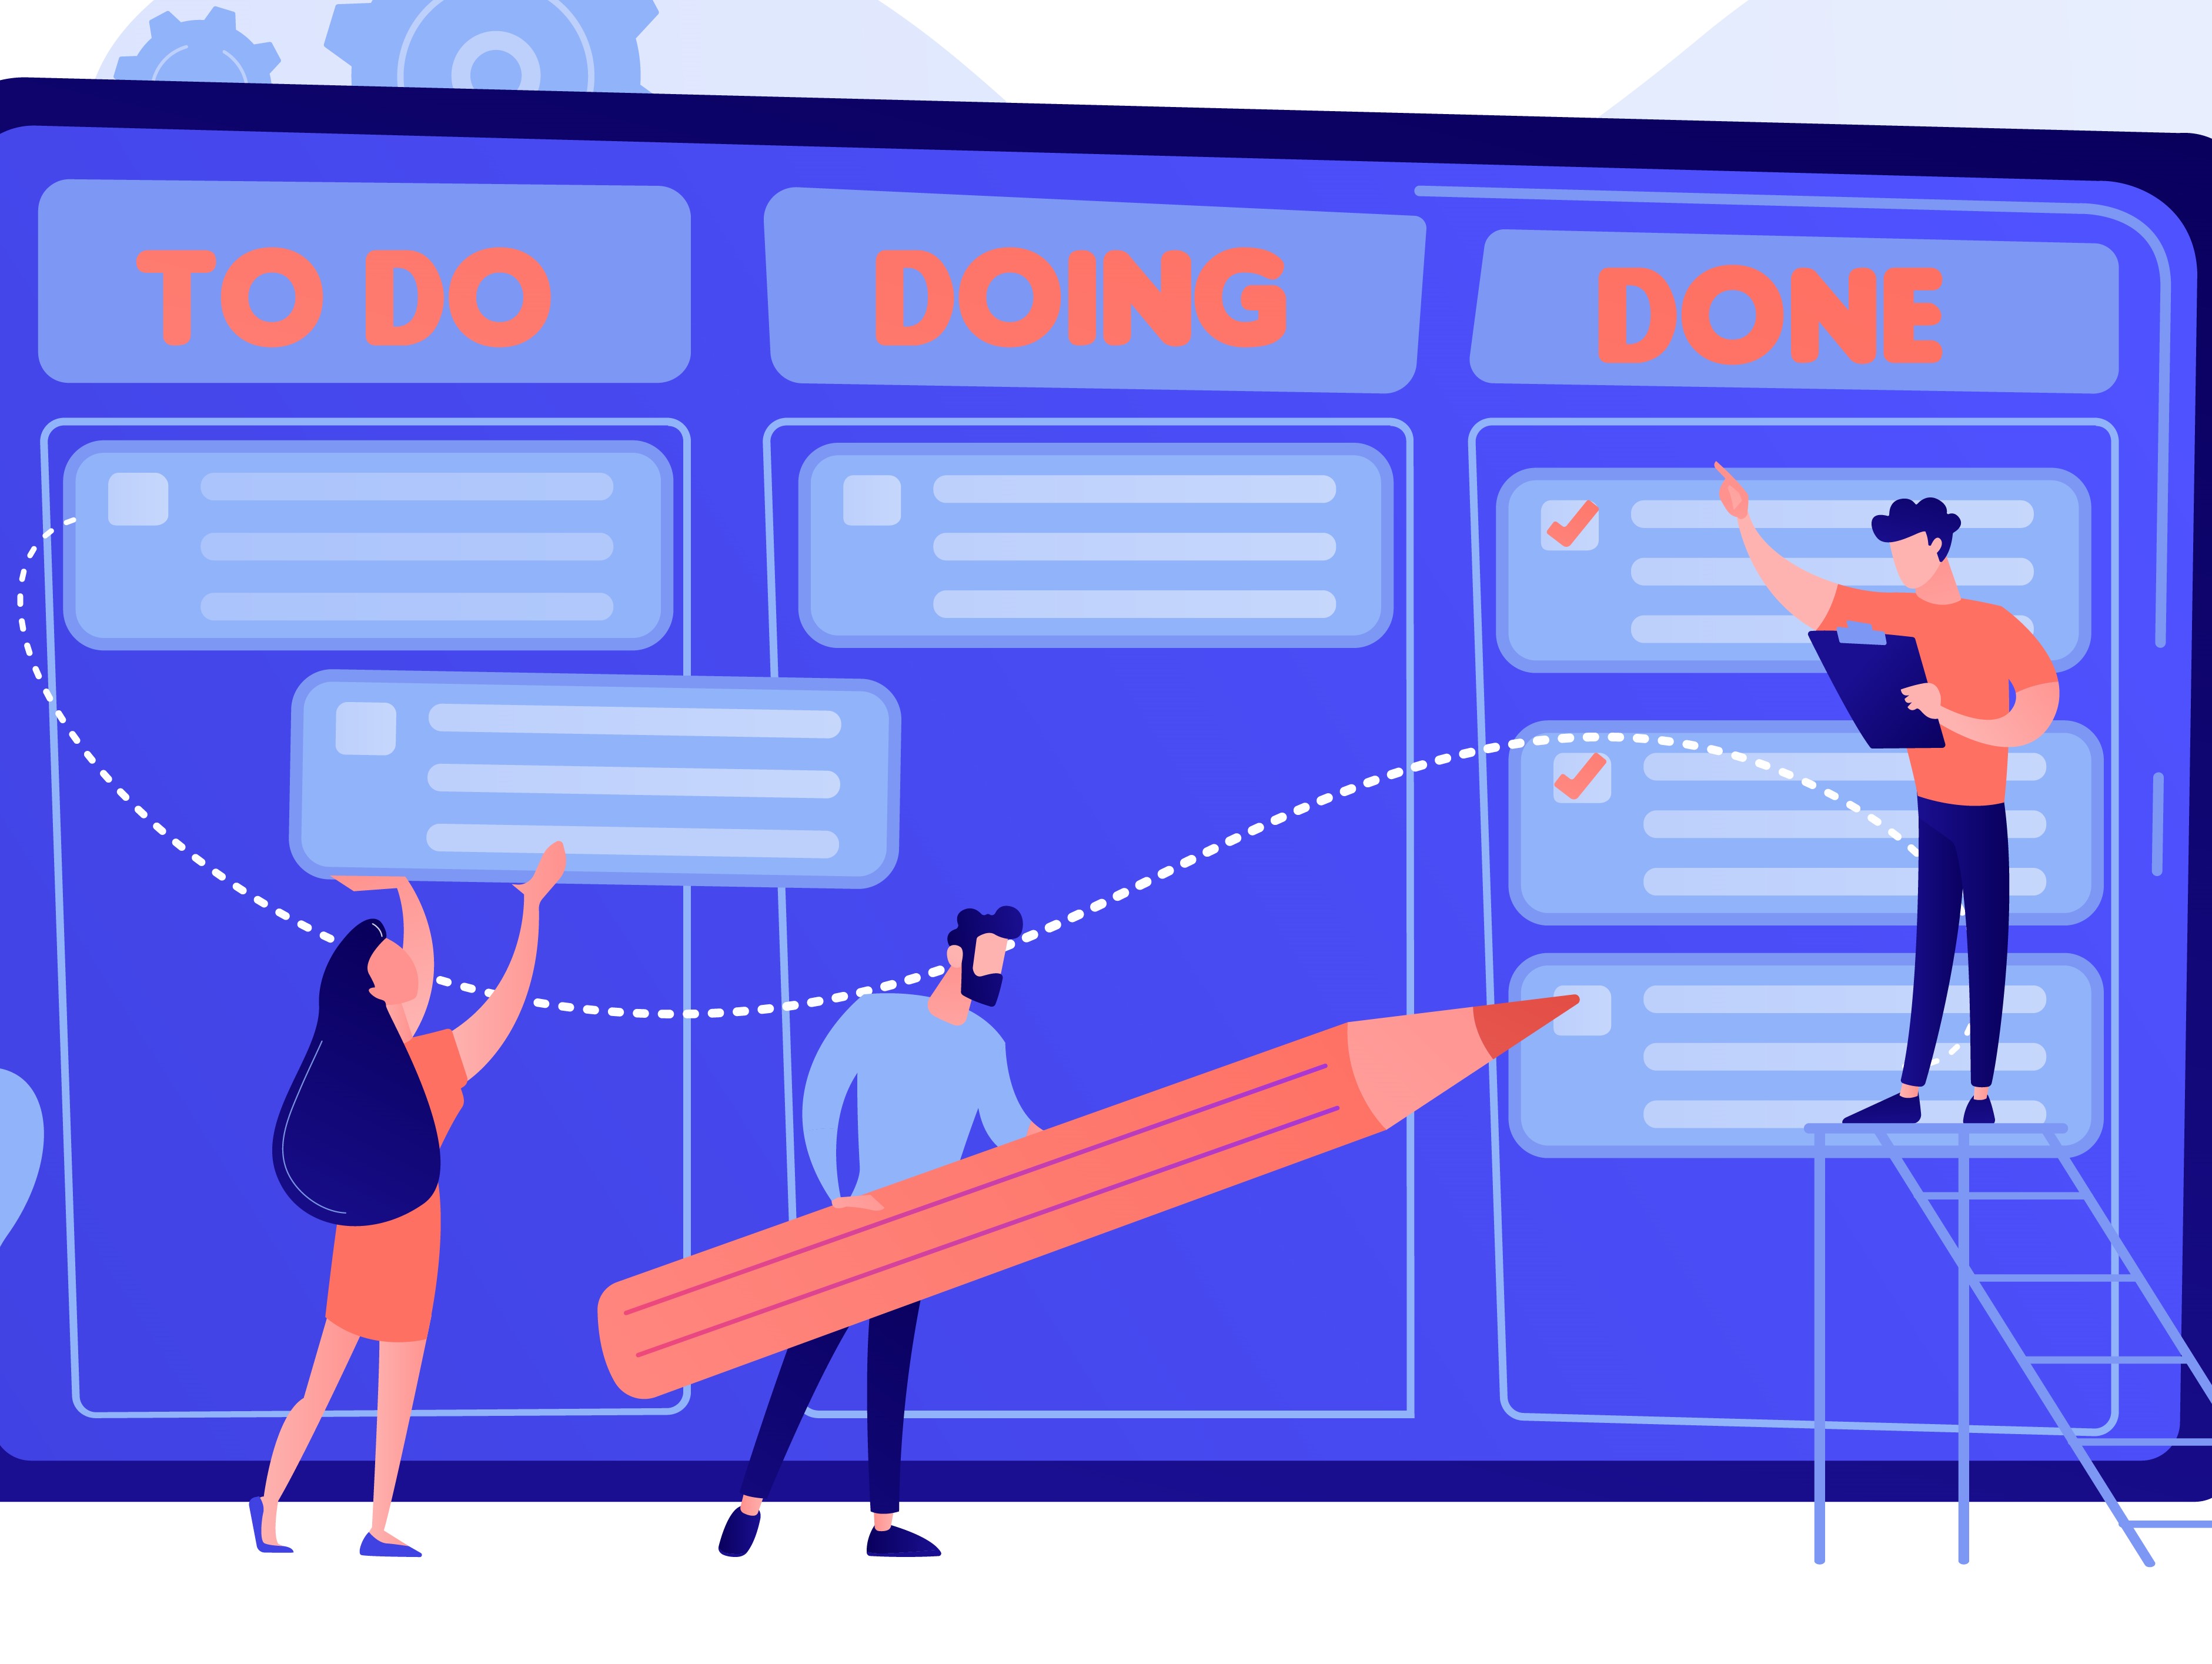
How have we automated this? 

We have a nightly Bamboo build plan setup which uses the Atlassian marketplace API  to get the latest version of the Atlassian application. Once we determine that a newer version of the application is available, we run a Bamboo build that triggers a Google Cloud Build to build the Docker images for the newer versions of the applications and then publish to Docker Hub. We used Cloud build due to its native Docker support and running the build on Cloud which allowed us to import our existing docker files  to build the Docker images and publish it to Docker Hub or Container Registry. Google Cloud Build provides a generous free tier which allowed us to use it for running the builds without managing the build servers.

Automating the test environment upgrade:

As part of the same build plan, we upgrade our test environments and deploy the plugins released by Addteq on the upgraded environments. When a newer version of the Docker image is available on the Docker Hub , we pull the latest image from Docker Hub and upgrade the test environment with the newer image pulled from repository. As we have used Docker data volumes to persist the application data, it is still available after the upgrade.

With the flexibility and ease  of setting up and upgrading the test environments with the latest version of the Atlassian Products enable us to do continuous deployment and testing our plugins efficiently.

We run the upgrades for different environments in separate Bamboo stages, for example in the below screenshot you can see that we only upgrade one of our environments automatically when a new Atlassian release is available and once we verify the new environment is functional , we can run the other Bamboo manual stages to upgrade the rest of the environments. A user can trigger a manual stage by clicking on play button of the Bamboo stage.This Bamboo setup allows to test our plugins in different confluence versions and  also for the compatibility with the latest versions of Atlassian applications.

Below is a screenshot of our Bamboo build plan which we use to automate the entire process of building and publishing the Docker images for the applications and then upgrading our environments.

Automation workflow:

Related Content
work from anywhere
Embracing the Freedom: Work from anywhere
If our products can be used from anywhere, we should also be able to work from anywhere. This blog shows...
Be_Unstoppable
Jira Accessibility: Best Practices for enhancing collaboration
Jira is a powerful tool to streamline workflows and enhance productivity. This blog explores four best...
addteq_fb_collab4b
The Perfect Match: Confluence & Excellentable
Discover the perfect match for your team's collaboration needs this Valentine's Day. Learn how to seamlessly...

Leave a Reply

Your email address will not be published. Required fields are marked *