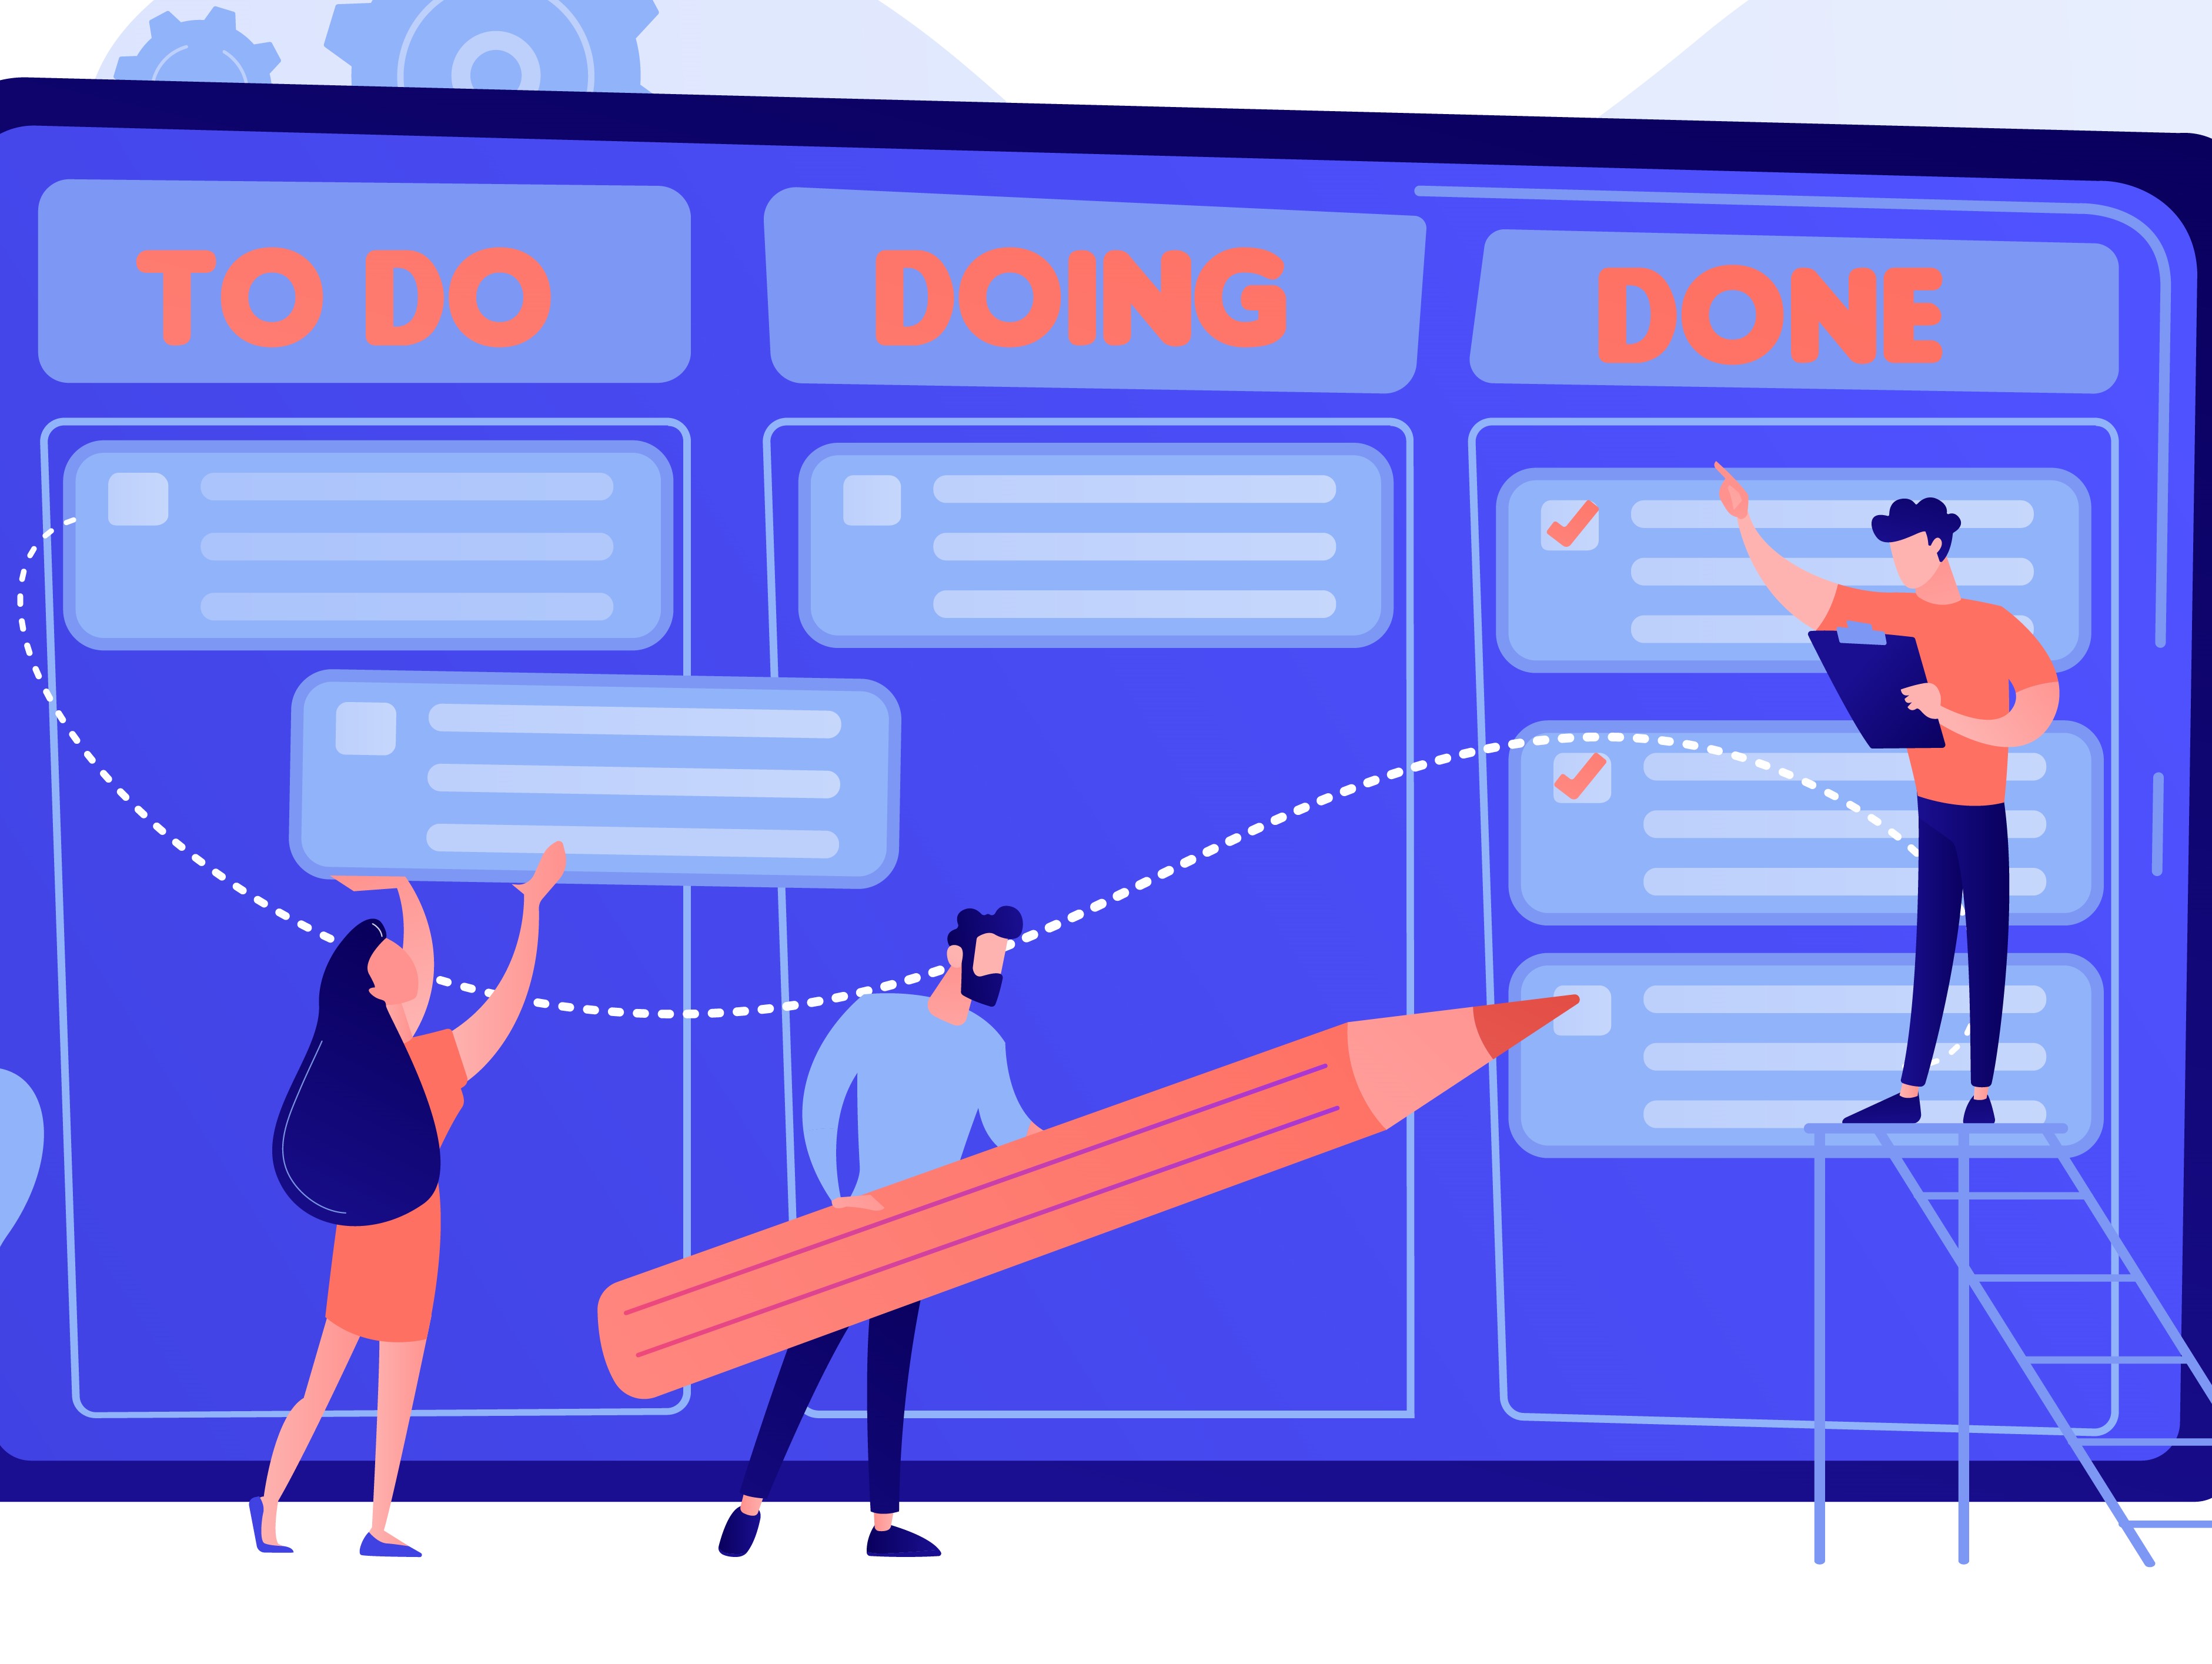
What is Automation in JIRA Service Desk?
According to Official Atlassian documentation, if you find your team stuck completing repetitive tasks or missing important request notifications, you can use automation to complete those tasks and send those alerts. Automation consists of rules that perform actions (e.g. alert agent) based on specific events (e.g. issue is created) and conditions (e.g. issue is high priority). With a simple, intuitive UI, the automation engine performs actions based on specific events and conditions defined by you. Create action-based rules to do things such as update your customers and notify your team about issues that are about to breach SLA.
Life cycle of a JIRA Service Desk Request
According to the default JIRA Service Desk workflow, any service desk issue follows a particular path.
1. Customer creates a new request from the JIRA Service desk “Customer Portal”.When an issue is created, the Service Desk Agent assigns the ticket to himself and progress the ticket from “Open” to “Waiting for Support”.

2. The Service Desk Agent has to click “Respond to Customer” transition manually and reply to the customer that changes the status to “Waiting for Customer”.

3. When the agent responds to customer, the status changes from “Waiting for Support” to “Waiting for Customer” for the customer.

4. But when customer comments on the ticket, the status does not change automatically from “Waiting for Customer” to “Waiting for Support”.

In this example, we will try to transition the issue automatically based on the user’s comment. Whenever a comment is added to an issue by the customer, this rule should automatically transition the issue so it is clear who it is waiting on.This cannot be achieved by using default JIRA Service Desk workflow. Hence, we utilize the JIRA Service Desk Automation feature.
Anatomy of the rule
1. To make up an automation rule, we need to have three pieces of information : “When”, “If” and “Then” .

2. Create an automation rule in JIRA Service Desk by clicking JIRA Service Desk -> Settings -> Automation.

3. Click on “Add your first automation rule”.

4. It has a set of predefined rules. Select “Transition on comment”.

5. Add a trigger “Issue Commented” under “WHEN” component.

6. Add conditions under “IF” component as shown in the screenshot. Issue matches with the status “Waiting for Support”, comment is “Public” and user is “Not a Customer”.

7. Add conditions for “ELSE IF” component with the status “Waiting for Customer”, comment is “Public” and user is “a Customer”.

8. Add conditions for “THEN” component with issue transitions and “Save” the settings.

9. Moving forward, whenever the customer creates a ticket, you can see the status of ticket as “Waiting for Support”.

10. The status changes automatically to “Waiting for Customer” as soon as the Agent or the Support team comments on ticket.

11. When the customer responds to ticket,the status changes automatically to “Waiting for Support”.

JIRA Service Desk Automation rules increase your team’s efficiency with simple automation rules, scales your team by reducing operational overhead and keeps customers happy while preventing tickets from entering the “blackhole”.